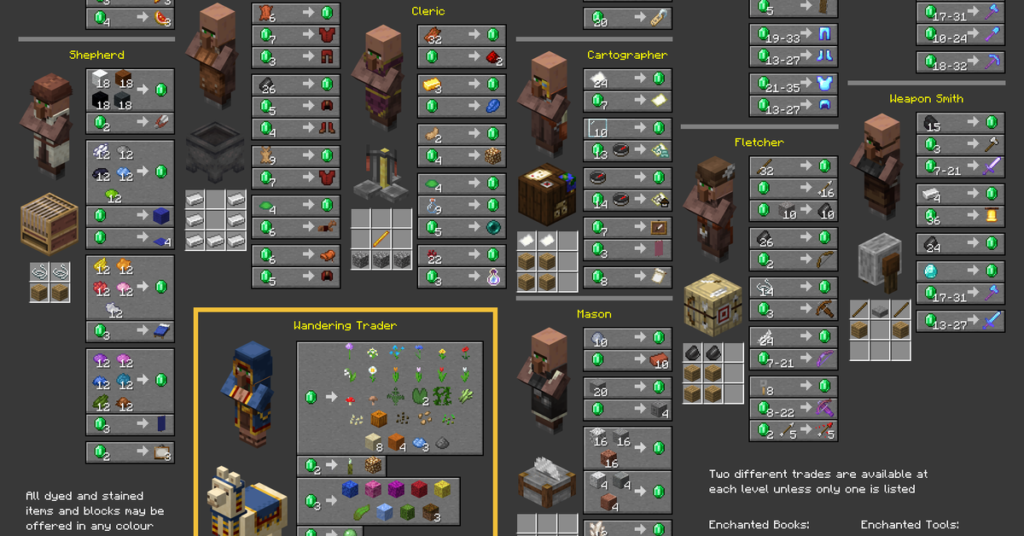
In Minecraft, villager trading is a vital aspect that allows players to acquire various items and resources while farming emeralds simultaneously.
This comprehensive guide will help tech noobs discover the best villager trades, change villager professions, and utilize trading strategies effectively.
So, let’s dive into villager trading and uncover the secrets to effortless emerald farming.
Understanding Villager Professions
Villagers in Minecraft have different professions, each offering unique trades.
It’s essential to understand these professions to maximize the potential of trading. The primary villager professions are:
- Armorer
- Butcher
- Cartographer
- Cleric
- Farmer
- Fisherman
- Fletcher
- Leatherworker
- Librarian
- Mason
- Nitwit
- Shepherd
- Toolsmith
- Weaponsmith
Each profession offers special trade offers, and understanding these trades will help players select the best villagers for their needs.
Top 5 Villager Trades for Effortless Emerald Farming
Based on a comprehensive analysis of various sources, including Reddit and top-ranked articles, the following list reveals the top 5 villager trades for effortless emerald farming:
Farmer Villager
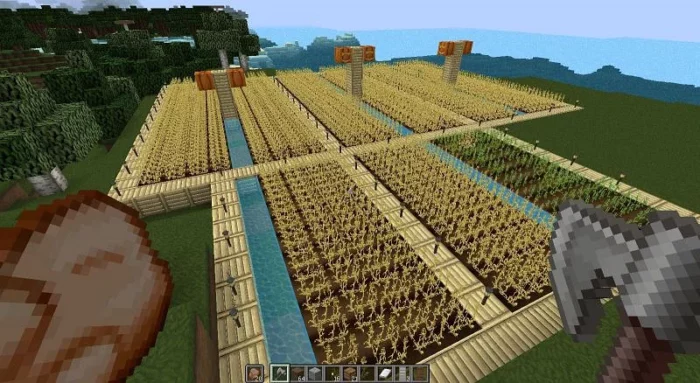
Farmers offer trades for crops such as wheat, carrots, potatoes, pumpkins, and melons, which are relatively easy to acquire. A widespread trade is 20 wheat for one emerald (novice).
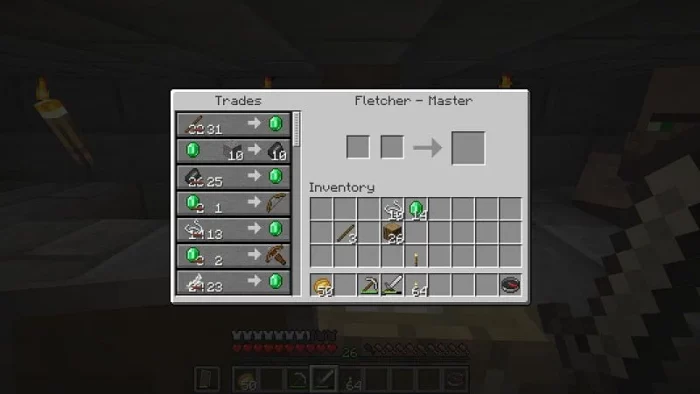
Fletcher Villager
Fletchers are known for their stick trade, offering one emerald for 32 sticks (novice). Sticks are easy to acquire, making this trade highly profitable.
Librarian Villager
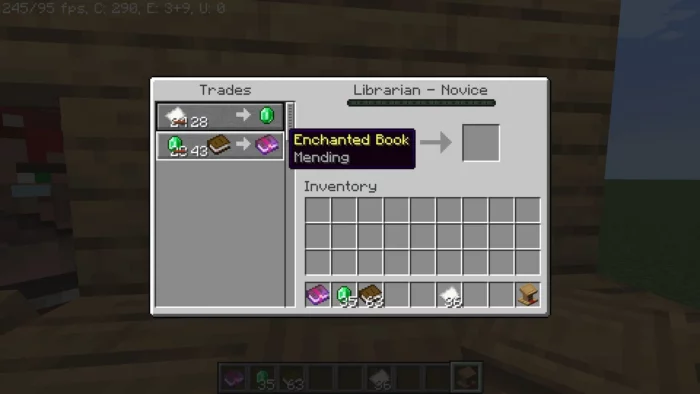
Librarians provide enchanted books in exchange for emeralds and regular readers. The trades can vary, but typically they offer one enchanted book for 5-64 emeralds & 1 book (novice).
This trade is precious for players looking to enchant their gear.
Mason Villager
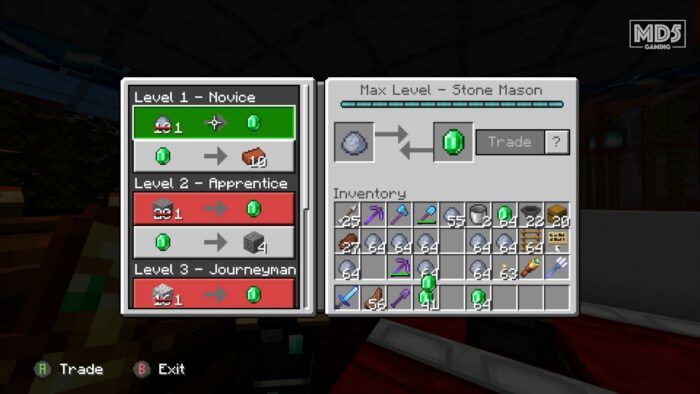
Masons trade various types of stones and minerals for emeralds. A widespread trade is ten clay for one emerald (novice ).
Other trades include buying stone, granite, diorite, andesite, and nether quartz. These resources are relatively easy to obtain, especially with a silk touch pickaxe.
Cleric Villager
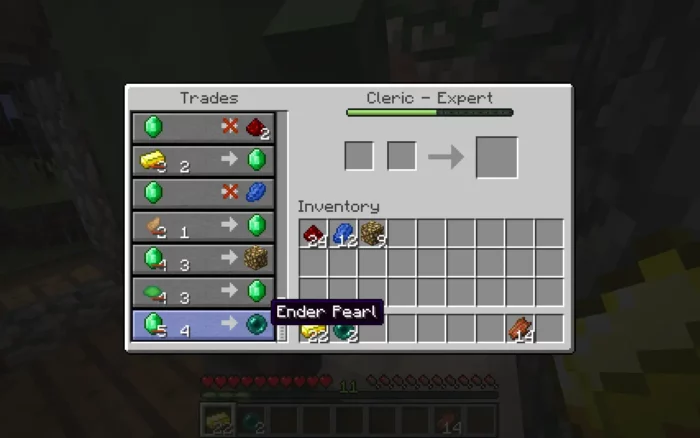
Clerics offer various trades, including buying rotten flesh, which can be easily acquired by killing zombies. One common trade is 3 gold for one emerald (apprentice).
This trade can be quite profitable if you have a gold farm or come across gold frequently.
How to Change a Villager’s Profession
Sometimes, you may want to change a villager’s profession to obtain a specific trade. Here’s a step-by-step guide to changing a villager’s job:
- Find an unemployed villager or a villager with an undesired profession.
- Remove any nearby job site blocks associated with the villager’s current profession (e.g., lectern for librarians, composter for farmers).
- Place a new job site block corresponding to the desired profession near the villager (e.g., grindstone for the armorer, a smoker for butcher).
- Wait for the villager to claim the new job site block and change their profession.
- If the desired trades do not appear, break the job site block and place it again to reset the villager’s trades until you obtain the desired offers.

Zombie Villagers and Curing
Zombie villagers can offer even better trades once cured. Here’s a step-by-step guide on curing a zombie villager:
- Find a zombie villager and trap it in a secure location.
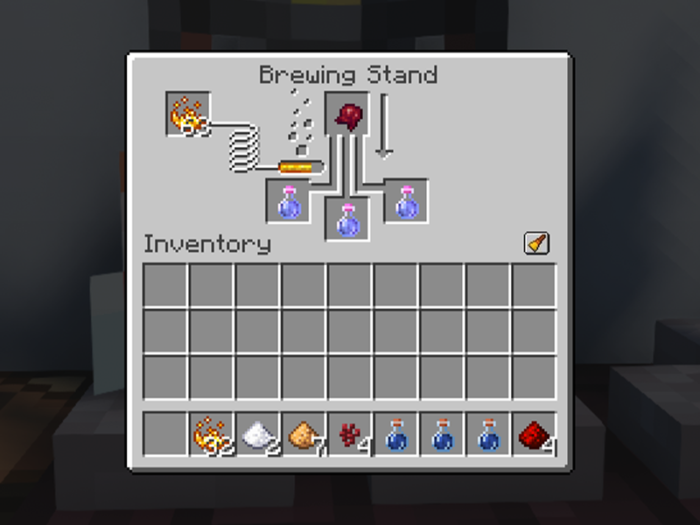
- Brew a Splash Potion of Weakness

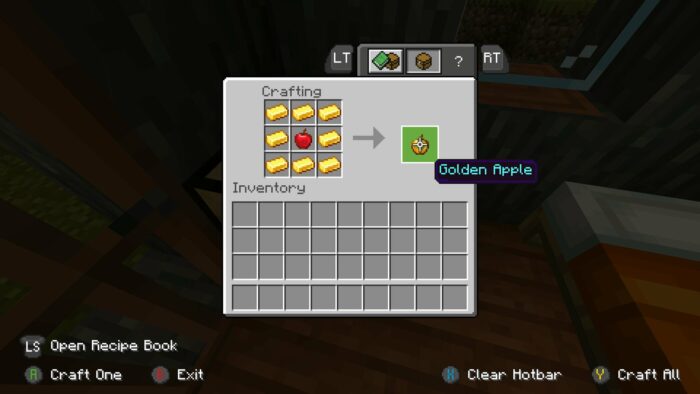
- Craft a Golden Apple.

- Throw the Splash Potion of Weakness at the zombie villager.
- Feed the Golden Apple to the weakened zombie villager.
- Wait for the zombie villager to transform back into a regular villager. The process takes about 5 minutes.
Once cured, the villager will offer discounted trades, making it easier to farm emeralds.

Trading Tips and Strategies
To maximize your trading experience, follow these tips and strategies:
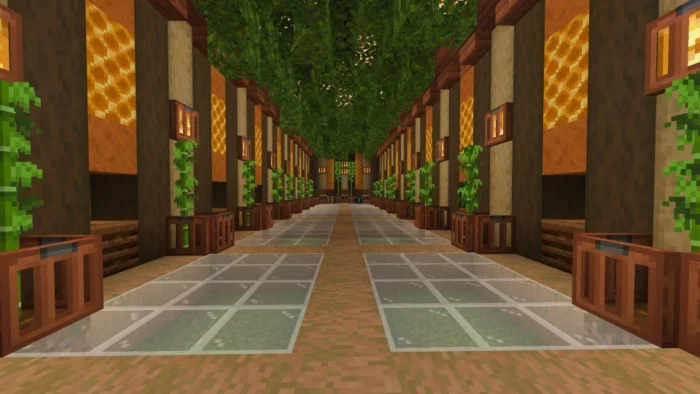
- Set up a dedicated trading hall with villagers offering the best trades for easy access.
- Create automatic farms for resources commonly traded with villagers, such as crops and mob drops.
- Zombify and cure villagers to obtain better trade offers and discounts.
- Trade with villagers frequently to level them up, which unlocks more trade options.
- Protect your villagers from threats like zombies and raids to ensure their survival and continued trading opportunities.
Implementing these strategies will help you optimize your villager trading and emerald farming experience.
Breeding Villagers for Better Trades
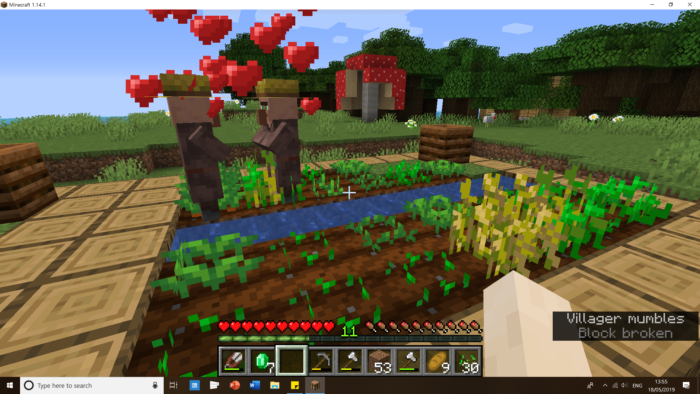
Breeding villagers can increase the number of villagers available for trading, giving you more options. Here’s a step-by-step guide to breeding villagers:
- Build a secure area for your villagers with beds and job site blocks.
- Ensure there are more beds than villagers to encourage breeding.
- Provide villagers with food (bread, carrots, potatoes, or beetroot).
- Wait for the villagers to enter “love mode” and breed, creating a baby villager.
- Once the baby villager grows up, he can take on a profession and offer trades.
Transporting Villagers to Your Trading Hall
After breeding villagers or finding them in villages, you may need to transport them to your trading hall. Here are some methods for transporting villagers:
- Boats: Place a boat near a villager, and the villager will enter the boat. You can then row the craft to your desired location. This method works best on water or flat surfaces.
- Minecarts: Build a minecart track between the villager’s location and your trading hall. Push the villager onto the minecart and send it along the track to the desired destination.
- Nether Portals: Create a Nether portal near the villager and push the villager through the portal. Then, in the Nether, create a path to your trading hall’s Nether portal and push the villager through to return to the Overworld.

Protecting Your Villagers and Trading Hall
To ensure the safety of your villagers and trading hall, follow these tips:
- Build walls and fences around your trading hall to prevent hostile mobs from entering.
- Place torches or other light sources to prevent mob spawning in and around the trading hall.
- Use iron golems, snow golems, or other defensive mobs to protect your villagers from threats.
- Install trapdoors or other mechanisms to prevent villagers from wandering outside the trading hall.
By implementing these security measures, you can keep your villagers safe and maintain a reliable source of trade.
Conclusion
Villager trading in Minecraft offers players a valuable source of resources and emeralds.
Following the steps and strategies outlined in this guide, you can optimize your trading experience, farm emeralds efficiently, and enjoy the benefits of the best villager trades available. Happy trading!

